Project Planning
Hiring a Contractor: A Homeowner's Complete Checklist
Finding a good contractor is one of the most important decisions you'll make in any home renovation. Done right, it means a project that finishes on time, on budget, and exactly as you envisioned. Done wrong, it can mean months of delays, substandard work, and in the worst cases, a homeowner holding the bill for someone else's mistakes. The process isn't complicated — but it does require asking the right questions at the right time, and knowing what to look for in the answers.
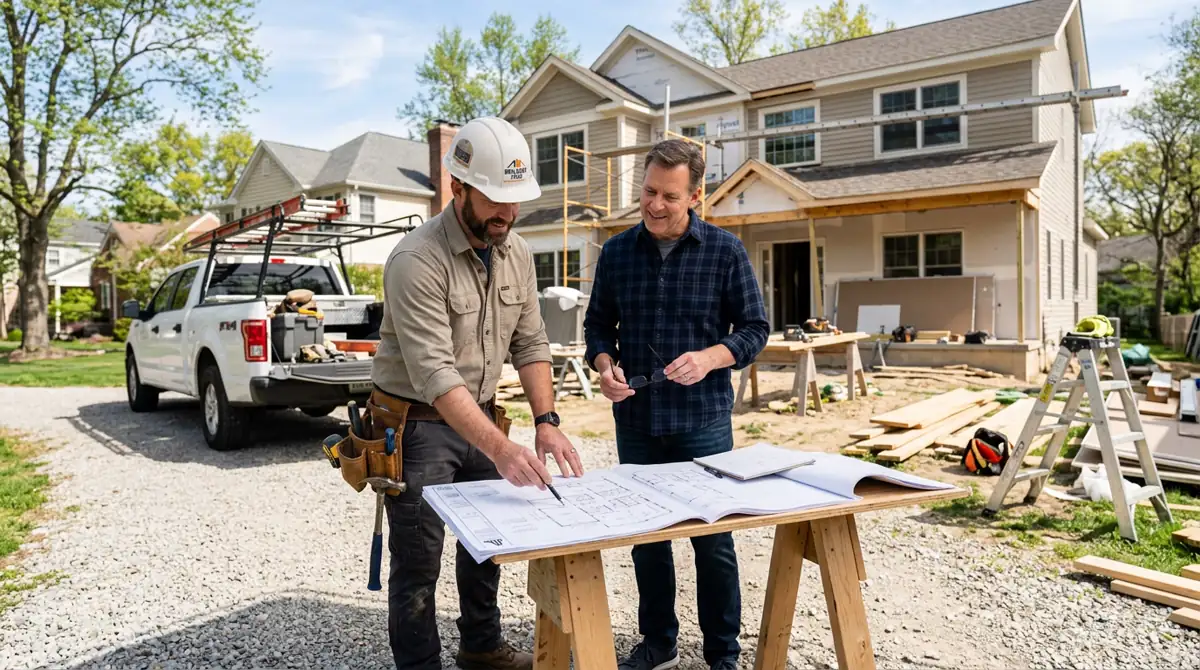
A productive first meeting with a contractor sets the tone for the entire project. Come prepared with a written scope and a list of specific questions.
Why the Hiring Process Matters More Than You Think
Most renovation horror stories don't begin with bad workmanship — they begin with a flawed hiring process. A homeowner accepts the first bid because the contractor seemed nice. They skip insurance verification because it feels awkward to ask. They sign a vague one-page contract because everything was discussed verbally. Then something goes wrong, and there's nothing in writing to fall back on.
A thorough hiring process takes a few extra hours spread over a week or two. That investment protects tens of thousands of dollars, months of your time, and your home's value. Think of it as due diligence, not distrust — reputable contractors expect professional homeowners to ask hard questions, and they welcome the opportunity to demonstrate their credentials.
Phase 1: Finding Candidates Worth Interviewing
Before you can vet contractors, you need a pool of real candidates. Not every name that comes up in a web search belongs there.
Start with referrals, not ads
Ask neighbors, friends, and family who have recently completed similar projects for recommendations. A referral from someone who has actually seen the contractor's work and navigated the project with them is worth far more than any advertising claim. If you don't have personal referrals, look for contractors who have been active and consistently reviewed on platforms like Houzz or the NAHB member directory — not those with a single burst of 5-star reviews.
Check state licensing databases directly
Most states maintain public contractor licensing databases you can search by name or license number. Don't just ask a contractor if they're licensed — look it up yourself. Verify that the license is current, covers the type of work you're having done, and has no disciplinary actions or complaints attached to it. This takes five minutes and has saved homeowners enormous grief.
Verify insurance before the first meeting
Every contractor working on your home should carry two types of insurance: general liability (which covers damage to your property) and workers' compensation (which covers injuries to their employees while on your property). Ask for a certificate of insurance and verify it directly with the issuing agency — certificates can be forged or expired. If a worker is injured on your property and the contractor has no workers' comp, you may be financially liable.
Phase 2: The Bidding Process
Once you have three or more credentialed candidates, you move into the bidding phase. This is where most homeowners make their biggest mistakes — either accepting the first bid, or choosing solely on price without understanding what's included.
Prepare a written scope of work before asking for bids
Every contractor should be bidding on exactly the same project. If your scope is vague, each contractor will make different assumptions, and their bids will be incomparable. Write out specifically what you want done — what materials, what finishes, what will be demolished, what will be protected, and what is explicitly out of scope. The more specific you are, the more useful and comparable the bids you receive will be.
What a complete bid must include
- Itemized labor and material costs — listed separately so you can see where the money is going
- Specific material brands and model numbers — "tile" is not a specification; "Daltile Restore Ceramic 12x24 in Arctic White, 6 boxes" is
- Proposed start date and project duration — including how many workers will be on site and how many days per week
- Payment schedule — tied to defined milestones, not arbitrary dates
- What is and isn't included — permit fees, dumpster rental, demo disposal, cleanup
- Warranty on labor — how long, what's covered, how claims are handled
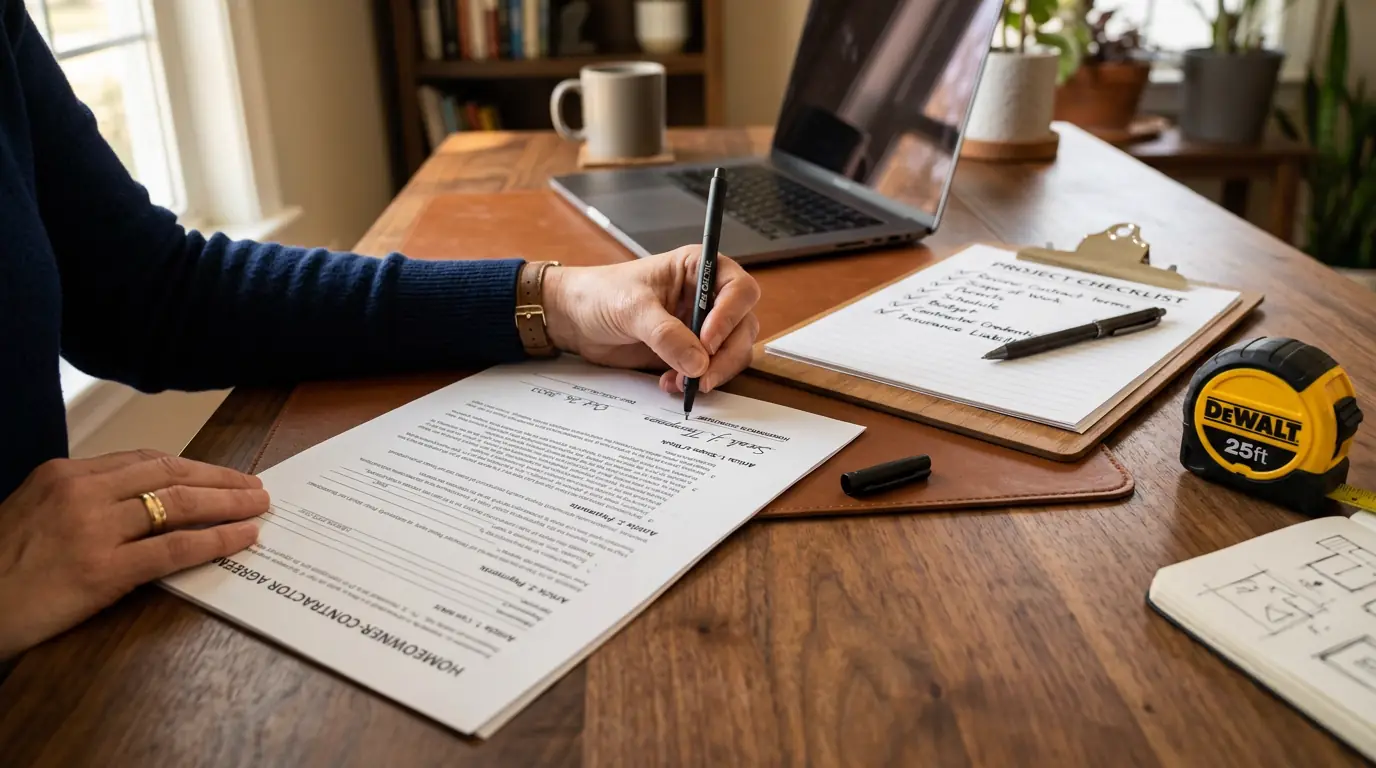
Never sign a contractor agreement at the first meeting. Take it home, read it in full, and compare it against your written scope before putting your name on it.
Phase 3: Interviewing the Contractor
A formal interview — either in person or by phone — is a critical step that many homeowners skip because it feels unnecessary once they have bids in hand. The conversation reveals how a contractor thinks, how they handle problems, and whether they'll be a reliable partner through the inevitable complications of construction.
Questions every homeowner should ask
- "How long have you been in business under this name?" — Many problem contractors operate under different business names after complaints. A long operating history under the same name is a positive signal.
- "Will you be on site daily, or will a foreman run the job?" — Knowing who your daily point of contact is matters enormously for communication and problem-solving.
- "Which parts of this project will subcontractors handle?" — Most GCs use subs for specialty trades. That's normal. What matters is that they take responsibility for vetting and supervising those subs.
- "Have you done projects similar to this scope in the last 12 months?" — Ask for references from comparable projects, not just their best work ever.
- "What happens if you discover something unexpected once work starts?" — Their answer tells you how they handle change orders and communicate surprises.
- "Who pulls the permits, and who attends inspections?" — The contractor should pull permits in their name and be present for inspections. If they ask you to pull your own permits, that's a serious red flag.
- "What does your warranty cover, and how do I contact you if something fails after completion?" — Get the warranty terms in writing, not just verbally.
Check references — actually call them
Any contractor worth hiring will provide references willingly. Call at least two or three of them. Don't just ask "was everything okay?" — ask specific questions: Did the project finish on time? Was the final cost close to the bid? How did the contractor handle problems that came up? Would you hire them again for a larger project? References from projects completed more than two years ago are less useful than recent ones.
Phase 4: The Contract — Read Every Line
The written contract is your primary protection if anything goes wrong. A verbal agreement, no matter how detailed, is essentially unenforceable. Never start a project without a signed contract that both parties have agreed to in writing.
What every contract must contain
- Full legal name and license number of the contractor or contracting company
- Detailed scope of work — this should match your written specification exactly
- Material specifications — brand, model, color, quantity for every significant material
- Start date and substantial completion date
- Total contract price and payment schedule — milestone-based, not date-based
- Change order procedure — any change to scope, cost, or timeline must be documented in writing and signed before work proceeds
- Lien waiver clause — requiring the contractor to provide signed lien waivers from subcontractors and suppliers at each payment milestone
- Cleanup and disposal responsibilities
- Warranty terms — duration and what is covered for both labor and materials
- Dispute resolution — mediation or arbitration clause and jurisdiction
Phase 5: During Construction
Signing the contract isn't the end of your work as a homeowner — it's the beginning of active project management. You don't need to hover, but you do need to stay engaged.
Stay informed without micromanaging
Establish a weekly check-in cadence with the contractor at the project start — either a brief on-site meeting or a written update. Ask about progress toward the current milestone, any issues discovered, and the outlook for the following week. Document everything in writing. If something is discussed verbally, follow up with a quick email summary so there's a record.
Never release payment ahead of milestones
The payment schedule exists for a reason. Don't release draws early because work looks like it's going well. The moment you pay ahead of the schedule, your leverage to ensure quality completion on the remaining work drops significantly. Hold the final payment — typically 10% to 15% of the contract total — until:
- All work on the punch list is complete to your satisfaction
- The project has passed its final building inspection
- You have received final lien waivers from all subs and suppliers
- All materials, tools, and debris have been removed from the property
Red Flags: Walk Away From These
Experience teaches you to recognize the warning signs that a contractor will be a problem before work begins rather than after. Here are the most consistent red flags:
| Red Flag | Why It Matters |
|---|---|
| Requests more than 33% upfront | Legitimate contractors don't need large deposits to fund mobilization. High upfront demands are a classic pattern in contractor fraud. |
| Cannot provide a current certificate of insurance | You bear the liability for injuries and property damage if they are uninsured. |
| Only provides a verbal quote | Nothing is enforceable. Scope, price, and timeline can all shift without written documentation. |
| Wants you to pull the permits | A licensed contractor pulls their own permits. This request means they may not be licensed or don't want to be on record. |
| Offers a large "cash discount" | Cash work typically means no permits, no inspections, no warranty, and no recourse if something fails. |
| Pressures you to decide quickly | "This price is only good today" is a sales tactic, not a scheduling reality. A busy, reputable contractor has no need for pressure tactics. |
| Recent business name change or no history | May indicate a prior business closed due to complaints or legal issues. |
After the Project: Final Steps
Once work is complete and you're satisfied, a few final administrative steps protect you going forward:
- Collect all warranties — manufacturer warranties on products installed, and the contractor's labor warranty in writing
- Obtain copies of all permits and the final inspection sign-off from your local building department
- Collect all final lien waivers before releasing the last payment
- Document the completed work with photos for your home records and insurance file
- Leave an honest, detailed review on Google or Houzz — it helps the next homeowner and rewards contractors who do good work
Planning a Renovation? Start with Accurate Numbers
Use our free calculators to estimate materials and costs before you meet with contractors — so you can evaluate bids with confidence.
Frequently Asked Questions
How many contractor bids should I get?
At least three for any project over $1,000. Three bids reveal the market rate, expose outliers, and give you meaningful leverage when negotiating. For very large or complex projects, four or five bids may be worth the extra time.
What should a contractor contract include?
A complete contract includes: itemized scope and materials, start and completion dates, milestone-based payment schedule, change order procedure, lien waiver provisions, warranty terms, and dispute resolution language. If the contract doesn't cover these, add them before signing.
How much deposit should I pay a contractor upfront?
Between 10% and 30% is typical. Anything above 33% upfront is a warning sign. Always pay by check or card — never cash — and get a receipt. Withhold 10–15% at the end until the punch list is complete and final inspection is passed.
Do I need a permit for my renovation project?
Structural changes, electrical panel work, plumbing modifications, and HVAC additions almost always require permits. Cosmetic work generally does not. When uncertain, call your local building department — they'll tell you for free, and a permit protects you if you sell the home later.