Roofing & Exterior
Complete Guide to Soffit & Fascia Installation
Soffit and fascia are two of the most overlooked parts of a home's exterior — until they start failing. Rotted fascia boards, cracked panels, and blocked vents might seem like minor cosmetic issues at first, but left unchecked, they invite water damagest infestations, and serious attic ventilation problems. The good news is that replacing or installing soffit and fascia is a manageable project for a prepared homeowner or a straightforward job for a siding contractor.
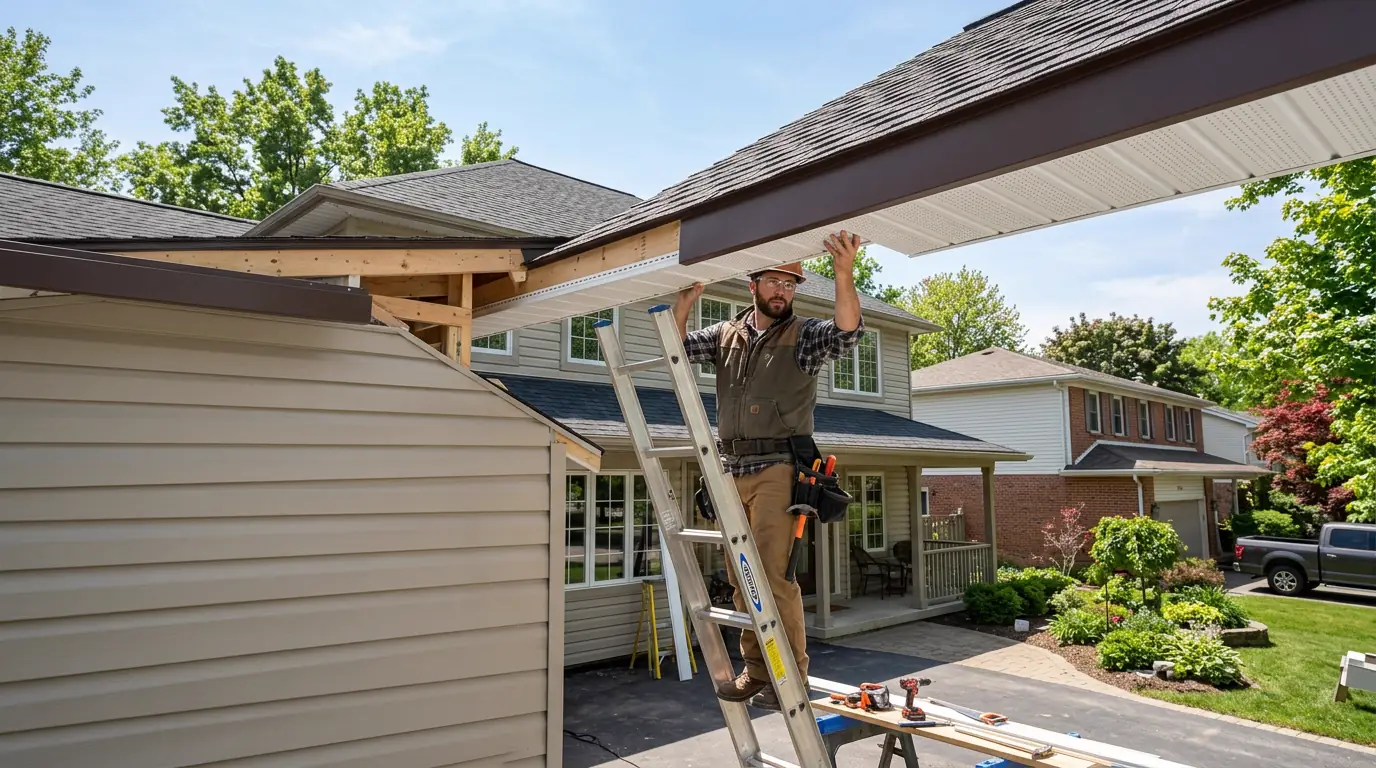
A contractor fitting vinyl soffit panels under the roof overhang. Getting the channel placement right from the start saves hours of rework.
What Soffit and Fascia Do for Your Home
Before picking up a single panel, it helps to understand why these components exist. The fascia is the long, flat board that runs along the roofline's lowest edge, directly behind the gutters. It seals the end of the rafter tails and gives the gutters a solid surface to anchor to. Without a structurally sound fascia, gutters sag, pull away from the house, and channel water toward your foundation instead of away from it.
The soffit is the finished surface beneath the roof overhang — the horizontal underside between the exterior wall and the fascia. It closes off the eave cavity from the outside world, preventing birds, squirrels, wasps, and windblown debris from getting into the rafter bays. On most ventilated homesrforated or vented soffit panels also serve as the intake side of the attic's passive ventilation system. Cool outdoor air enters through the soffit, flows upward through the rafter bays, and exits through ridge or gable vents at the roof's peak.
When soffit and fascia are damaged, the whole system breaks down. Water infiltrates, wood rots, attic ventilation is compromised, and pest colonies establish themselves in spaces that are very difficult and expensive to remediate once they're fully settled in.
Choosing the Right Material
The days of painting wood fascia every few years are mostly behind us. Modern residential construction overwhelmingly uses either vinyl or aluminum for both components, and for good reason. Here's a practical breakdown to help you decide:
| Factor | Vinyl | Aluminum | Wood (Legacy) |
|---|---|---|---|
| Material cost | Lowest | Moderate | Variable |
| Maintenance | Minimal — rinse occasionally | Minimal — may need paint touch-up over time | High — repaint every 3–5 years |
| Cold weather | Can become brittle and crack | Stays flexible and rigid | Absorbs moisture, expands, and rots |
| Hot climates | Can soften and wave on long runs | Excellent — holds shape in heat | Risk of warping if improperly sealed |
| Appearance | Softer texture, many colors | Clean flat finish, crisp lines | Traditional, paintable to any color |
| Best for | Budget replacements, moderate climates | Long runs, hot or humid regions, metal trim systems | Historic homes requiring period authenticity |
For most modern residential projects, vinyl is the practical default unless there's a specific reason to choose aluminum — such as very long eave runs, an existing metal trim system, or a climate with extreme summer heat. See our detailed vinyl vs. aluminum soffit comparison for a deeper breakdown of both materials.
Tools and Materials You'll Need
Having the right tools on hand before you start prevents trips to the hardware store mid-job and keeps the project moving efficiently. Here's what a complete soffit and fascia installation requires:
- Ladder or scaffolding — Use a stable, appropriately rated ladder. For two-story homes, scaffolding is significantly safer and faster for long runs.
- Tin snips or aviation snips — For cutting aluminum panels and trim channels cleanly.
- Utility knife — For scoring and cutting vinyl panels.
- Circular saw with a fine-tooth blade — For long straight cuts on both vinyl and aluminum. Reverse the blade for cleaner cuts on vinyl.
- Tape measure and chalk line — Absolutely essential. Straight channels mean straight panels.
- Pry bar and hammer — For removing old fascia boards, channels, and nails.
- Drill and bit set — For pre-drilling fastener holes in aluminum and driving screws into fascia framing.
- Caulk gun and paintable exterior caulk — For sealing joints at corners, around utility penetrations, and at wall transitions.
- Corrosion-resistant nails or screws — Hot-dipped galvanized or stainless. Never use standard steel fasteners on exterior trim.
- J-channel, F-channel, and undersill trim — These channels receive and hold the edges of your soffit panels.
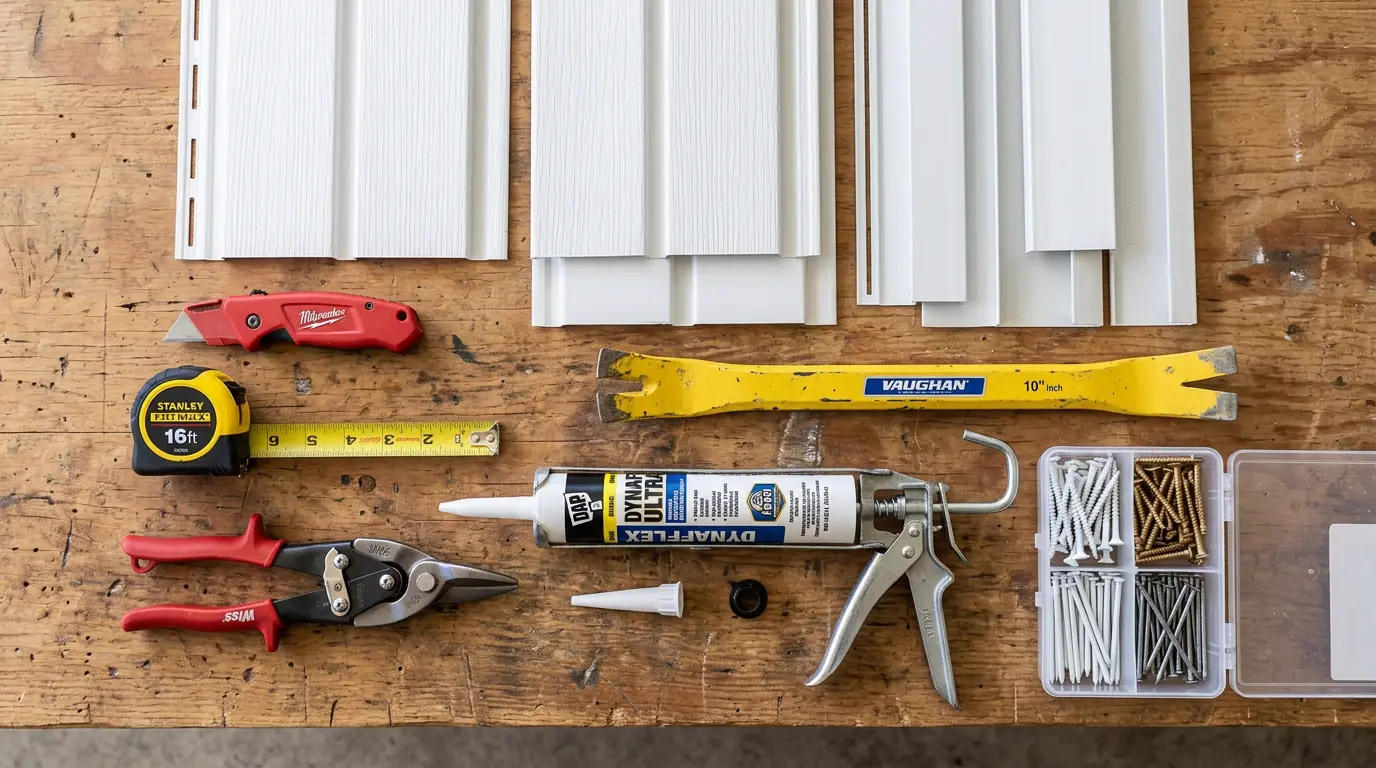
Having every tool staged and ready before you climb the ladder cuts installation time significantly and reduces safety risks.
Step-by-Step Installation Process
The process below reflects how professional crews approach a full replacement — removing old materials, inspecting the structure, and installing new panels from scratch. If you're doing a partial repair, skip to the relevant section.
- Inspect and document the existing condition. Before removing anything, photograph the existing soffit and fascia from multiple angles. Note where vented panels are located — you'll need to replicate the ventilation layout. Check the rafter tails and fascia backer boards for rot by probing with a screwdriver. Soft, crumbling wood must be replaced before any new trim goes on.
- Remove gutters and old soffit panels. Gutters need to come down before you can work on the fascia. Cap or plug downspout openings temporarily. Carefully pry off old soffit panels — many are held by nails into channels. Work methodically from one end of the eave to the other rather than pulling randomly, which can damage the rafter tails.
- Remove and replace the fascia board. Pry the old fascia board away from the rafter tails. This is when you'll discover any hidden rot that wasn't visible from the ground. Replace any deteriorated rafter tail ends with pressure-treated lumber, sistering new wood alongside the damaged section and securing it with structural screws. Prime all cut ends of any wood fascia backer before installing new trim.
- Install J-channel along the wall. The J-channel (also called wall channel or back channel) runs horizontally along the exterior wall at the soffit plane. Snap a chalk line at the correct height, then nail the channel with the correct spacing — typically every 12 to 16 inches into solid framing. This channel receives the inner edge of every soffit panel.
- Install F-channel on the fascia. The F-channel (or fascia channel) attaches to the face of the fascia board, angled downward to receive the outer edge of the soffit panels. Use a chalk line to keep it perfectly level. This channel also supports the soffit panel's outer lip and allows for thermal movement.
- Measure and cut soffit panels to width. Measure the distance between the wall channel and the fascia channel at multiple points — eave widths often vary slightly. Cut panels about 1/4 inch shorter than the measured distance on each end so they slide freely in both channels without binding as the material expands in summer heat.
- Install soffit panels, working toward corners. Slide the first panel into both channels, confirm it's level, then fasten it through the nailing slots — never through the face of the panel. Nails should be snug but not tight, allowing the panel room to move. Butt each successive panel against the previous one and continue toward inside and outside corners.
- Handle corners with pre-formed corner posts or mitered channels. Outside corners get a pre-formed corner post that receives the end of each adjoining channel. Inside corners are typically handled by tucking the channel ends into an inside corner post or J-channel return. Take time at corners — sloppy corners are the first thing visitors notice about an exterior trim job.
- Install the new fascia cover or wrap. If using aluminum coil stock to wrap the fascia board, bend it on a brake to match the fascia profile, then nail it over the wood substrate with the nail hem at the top hidden under the drip edge. Overlap joints by at least two inches and caulk each overlap on the face side.
- Reinstall gutters and make final checks. Once all soffit and fascia work is complete, reinstall gutters and check that every gutter hanger is fastened into solid fascia material. Walk the entire perimeter and look for any gaps at the wall channel, unlocked panel ends, or blocked vent perforations. Clear any debris from inside the soffit cavity before everything is closed up.
Ventilation: Don't Sacrifice It for Speed
One of the most common shortcuts on DIY soffit installations is installing solid panels where vented panels should go — either because vented panels weren't ordered, or because the installer didn't realize the distinction. This can cause serious problems. An under-ventilated attic builds up heat in summer (increasing cooling costs and degrading shingles from below) and moisture in winter (leading to condensation, mold, and structural damage to roof sheathing).
Always replicate the original ventilation layout and, if possible, improve it. A typical ventilated attic needs intake area equal to at least 1/150th of the attic floor area, split evenly between intake (soffit) and exhaust (ridge or gable vents). Vented soffit panels are rated by their net free area (NFA) — use this number, not the visible hole size, when calculating how much ventilation your soffit actually provides. For a full breakdown of the math, see our attic ventilation requirements guide.
Common Installation Mistakes to Avoid
After years of inspecting and repairing exterior trim work, these are the errors I see most often on both DIY and contractor jobs:
- Fastening panels too tightly. Both vinyl and aluminum need room to expand and contract. Driving nails or screws tight against the panel face restricts movement and causes buckling, warping, or visible waviness along the eave line — especially noticeable in summer.
- Skipping the structural inspection. New soffit and fascia over rotted rafter tails is cosmetic work that will fail again within a few years. Probe everything before it gets covered up. It's far cheaper to fix it now than after the new trim is installed.
- Using the wrong fasteners. Standard steel nails rust quickly and leave dark streaks on the panel face. Use hot-dipped galvanized or stainless steel fasteners rated for exterior use.
- Not accounting for expansion gaps at channels. Panels should slide freely in their channels. An industry rule of thumb is to leave 1/4 inch of gap at each end of every panel. In very hot climates, some installers increase this to 3/8 inch.
- Blocking ventilation with insulation or debris. As mentioned above — always check the rafter bays before closing up. A quick look with a flashlight can prevent a costly attic moisture problem.
- Ignoring drip edge condition. If the drip edge (the metal flashing at the roof's eave that directs water into the gutter) is bent, corroded, or improperly overlapping the gutter, replace it while the fascia is exposed. It's a minor cost that prevents significant water infiltration behind the fascia.
Maintenance After Installation
Vinyl and aluminum soffit and fascia are genuinely low-maintenance, but low-maintenance doesn't mean no-maintenance. A simple annual routine keeps the system performing for 20 to 30 years:
- Rinse the entire eave perimeter with a garden hose each spring to remove pollen, dirt, and organic debris that can stain panels over time.
- Check vent perforations for insect screens, wasp nests, or compacted debris that block airflow. A soft brush or low-pressure stream from a hose clears most clogs without damaging the panels.
- Walk the perimeter after major wind or hail events and check for displaced panels, cracked sections, or dented aluminum. Vinyl panels that have cracked at corners in cold weather can be replaced individually — you don't need to redo an entire eave run for one damaged panel.
- Inspect gutter connections annually. A gutter pulling away from the fascia doesn't just cause drainage problems — it creates a water entry point directly behind the fascia board, the fastest way to initiate rot on an otherwise sound installation.
When to Call a Professional
A full perimeter soffit and fascia replacement on a single-story home is within reach for a capable DIYer with a solid ladder, the right tools, and a full weekend. However, there are situations where bringing in a professional is the smarter call:
- Two-story or multi-story homes where working at height significantly increases fall risk
- Extensive rafter tail rot that requires carpentry repairs beyond basic trim work
- Complex rooflines with many valleys, dormers, and compound angles
- Homes in HOA communities where exterior material changes require approval and documentation
- Any project where local code requires a permit and inspection
When getting bids, ask contractors to break out the cost of materials versus labor, and ask specifically whether their estimate includes removing and reinstalling gutters, disposing of the old materials, and any wood repairs they discover behind the existing soffit. These line items are where estimates vary most significantly.
Estimate Your Soffit & Fascia Project
Enter your eave dimensions, overhang depth, and material choice to get panel counts, trim quantities, and a planning-level cost range.
Frequently Asked Questions
How long does soffit and fascia installation take?
For a typical single-story home, an experienced two-person crew can complete the full job in one to two days. Larger homes, complex rooflines, or significant rot repair can extend the timeline to three or four days. A careful DIYer working alone should budget two full weekends for the same scope.
Should I replace fascia before soffit?
Yes, always. The fascia establishes the outer mounting edge that the soffit channel attaches to. Installing soffit panels over a rotted, bowed, or improperly aligned fascia board creates a wavy, unstable result that will likely need to be redone when the fascia eventually fails.
Do I need a permit to replace soffit and fascia?
In most jurisdictions, like-for-like replacement of soffit and fascia does not require a building permit. However, if you're altering roofline dimensions or the work is part of a larger permitted project, check with your local building department before starting.
What is the best material for soffit and fascia?
For most North American climates, vinyl is the cost-effective, low-maintenance standard. Aluminum is the better choice for long eave runs, hot climates, or homes using metal trim systems. Both dramatically outperform wood for longevity and maintenance requirements when properly installed.